Porcelain is renowned for its beauty and durability, but even the finest pieces can suffer from damage. Whether it’s a cherished family heirloom or a decorative item, knowing how to fix porcelain is crucial. Common types of damage include:
- Chips: Small pieces broken off, often along the edges.
- Cracks: Visible lines that can compromise structural integrity.
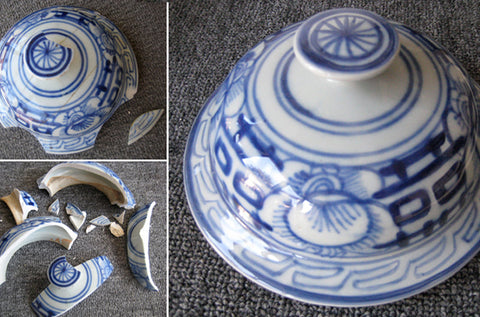
- Shattering: Complete breakage into multiple pieces.
Understanding these damages will help you choose the right repair techniques and materials.
Assessing the Damage
Before attempting to fix porcelain, it’s important to assess the extent of the damage. Here’s a step-by-step process:
- Visual Inspection: Look for chips, cracks, or breaks. Use good lighting to spot fine cracks.
- Touch Test: Feel the edges of chips or cracks. Are they smooth or sharp?
- Sound Test: Gently tap the piece. A clear sound indicates integrity; a dull thud suggests damage.
Essential Tools and Materials
To effectively fix porcelain, gather the following tools and materials:
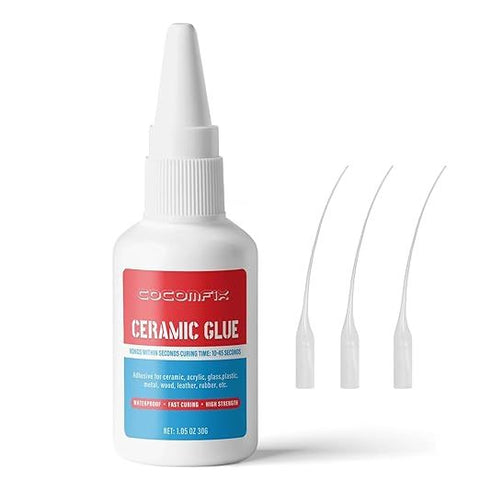
- Epoxy Adhesive: Strong and durable, ideal for most repairs.
- Super Glue: Works well for small chips and quick fixes.
- Porcelain Repair Kit: Often includes paints, fillers, and specialized adhesives.
- Fine Sandpaper: For smoothing edges after repair.
- Cleaning Cloth: To keep the area clean during repairs.
Repair Techniques
1. Fixing Chips
For small chips, you can use super glue or a porcelain repair kit:
- Clean the Area: Remove any dust or debris from the damaged area.
- Apply Adhesive: Use a toothpick to apply a small amount of glue into the chip.
- Press and Hold: Gently press the chip back into place and hold it for a few minutes.
- Smooth the Edges: Once dry, use fine sandpaper to smooth out any rough edges.
2. Repairing Cracks
For cracks, epoxy adhesive works best:
- Clean the Crack: Ensure it’s free from dirt.
- Mix Epoxy: Follow the instructions on the adhesive packaging.
- Apply Epoxy: Use a small brush to fill the crack, ensuring it penetrates well.
- Clamp if Necessary: If the crack is significant, clamp the pieces together until dry.
3. Reassembling Shattered Pieces
For multiple broken pieces:
- Sort the Pieces: Lay them out to see how they fit together.
- Label: Consider labeling pieces for easier assembly.
- Use Epoxy: Apply adhesive to each edge before joining.
- Support Structure: Use weights or clamps to hold the pieces in place as the glue cures.
Preventing Future Damage
To keep your porcelain safe:
- Store Properly: Use padded shelves or cabinets.
- Avoid Direct Sunlight: Prevent fading and heat damage.
- Handle with Care: Use both hands and avoid placing items too close together.
Conclusion
Knowing how to fix porcelain not only preserves its beauty but also maintains its value. With the right tools and techniques, even damaged pieces can be restored to their former glory. Always remember to assess the damage, choose the right materials, and follow proper repair procedures.
FAQ
Q: Can I use regular glue to fix porcelain?
A: It’s not recommended. Use epoxy or super glue designed for ceramics for better durability.
Q: Will repairs be visible?
A: Depending on your skill and materials used, some repairs can be nearly invisible, while others may be noticeable.
Q: How can I prevent my porcelain from breaking in the future?
A: Store it safely and handle it with care to minimize the risk of damage.
Q: Is professional repair worth it?
A: If the piece is valuable or an heirloom, professional repair may be advisable to ensure quality restoration.
By following these guidelines, you’ll not only learn how to fix porcelain but also appreciate the art of porcelain repair, making your collection even more cherished.


